
|
with Angela Harris Characterization Exercise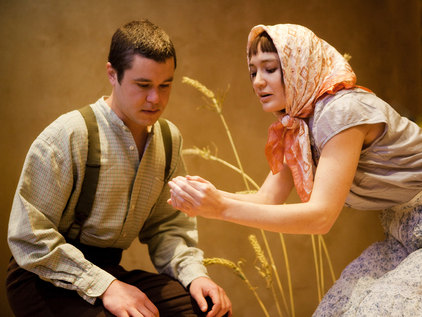 After analyzing the Introduction and Book One of My Ántonia, we moved into an exercise on characterization. We talked about how, in real life, we get to know what a person is all about. We came up with a list that included actions, clothing, family life, favorite foods, location, names, occupation, physical appearances, props, social status, speech and dialogue, and thoughts and opinions. We also reviewed the definitions of round and flat characters and direct and indirect characterization. After giving a few examples, I had the students think of a friend or acquaintance and describe him/her using at least three different types of characterization--same person, but three different sentences. After writing the three sentences, they chose the one they liked the best, shared it with the group, and then we decided which tool of characterization was used. Some were obvious and some more subtle. Some even used two types of characterization. Characterization EssayWe talked about characterization because our next essay focuses on the characterization of the heroine of our story--Ántonia Shimerda. In crafting your essays this week, follow the Expository Essay Guide that I made for you, but bear in mind these very important modifications:
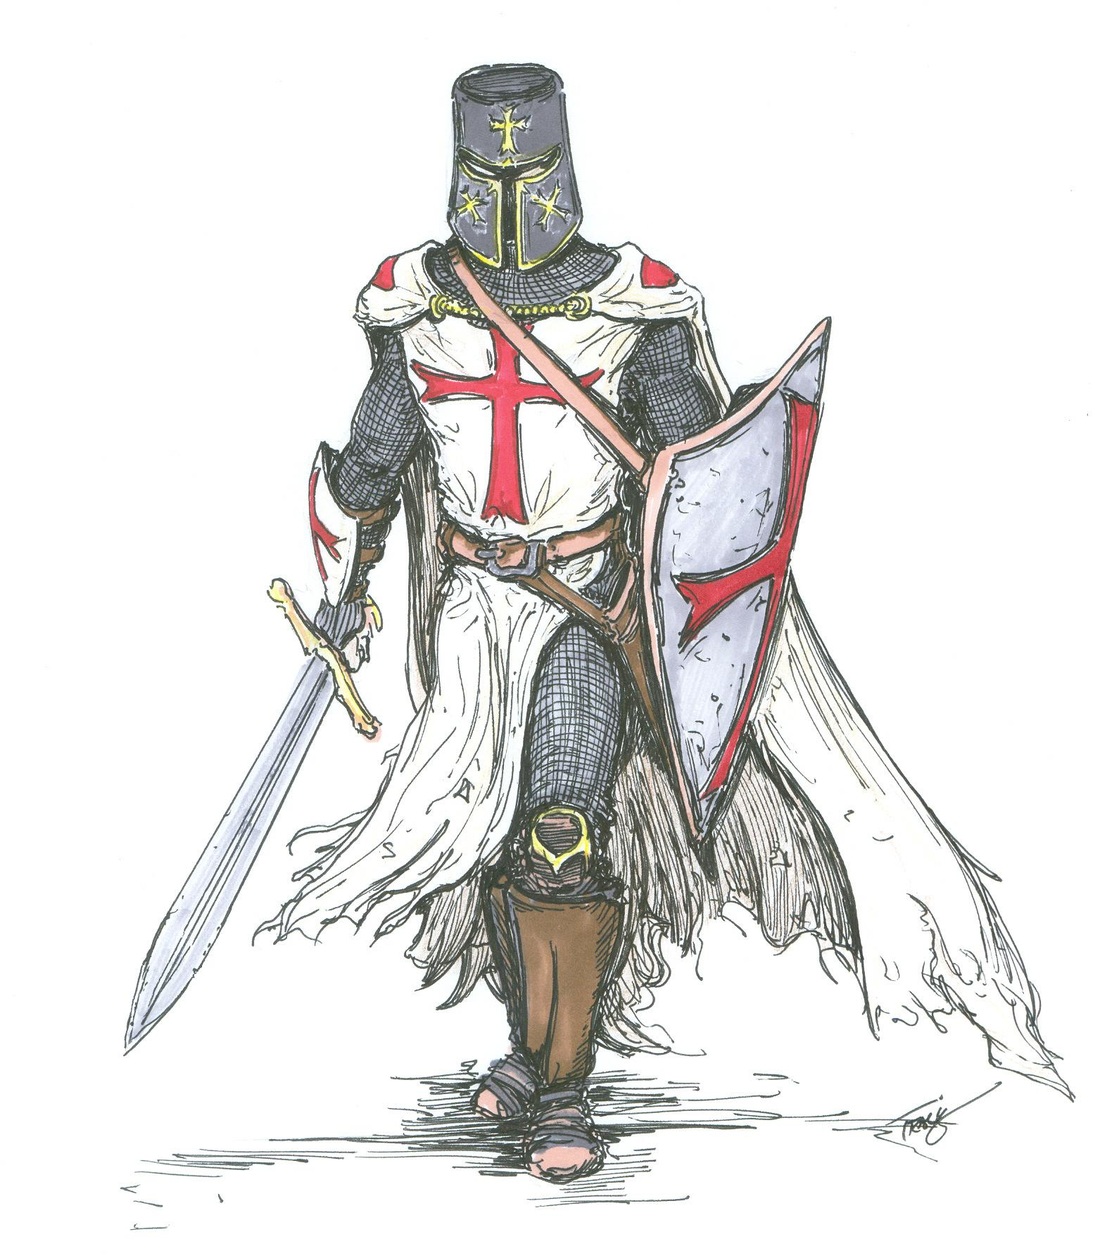
Introduction: Follow the guide; you still need a thesis, but not necessarily a thesis with tension since we are not really making a debatable claim this time--this is a character analysis. Remember the thesis is the controlling idea of the paper. Try not to simply state the obvious--a thesis statement should be a fresh idea or opinion that is supportable based on facts or evidence taken from the story. This may take some work, since in this case, the thesis statement is not an assertion to a question that was posed. The three points you are making can simply be what we discussed in class--that Ántonia is high-spirited, proud, and generous. If you feel that is debatable, and you want to make a claim that she has different personality traits, that is up to you! Second - Fourth Paragraphs: Each point should have a quote from the book that supports the claim (she is "high-spirited" for paragraph 2, "proud" for paragraph 3, and "generous" for paragraph 4). After the quote from the book, place the author's last name and page number like this: "After Ántonia had said the new words over and over, she wanted to give me a little chased silver ring she wore on her middle finger. When she coaxed and insisted, I repulsed her quite sternly. I didn't want her ring, and I felt there was something reckless and extravagant about her wishing to give it away to a boy she had never seen before" (Cather, 23). Don't use more than four lines of text per quote and don't simply start the paragraph with the quote. It will be up to you to craft the paragraph in such a way that you use your own writing to explain why the quote supports the point. This is a less formulaic approach than our last essay. Conclusion: You can follow the guide pretty exactly for the conclusion, although you do not necessarily need to "take a stand" or "persuade the reader" for this essay. Any questions or confusion, just email me! with Kim Rodgers Chemistry BasicsThis week in Chemistry we learned about acids and bases. A base has an OH group (an oxygen atom and a hydrogen atom) and an acid has an H group (just a hydrogen atom). Both acids and bases are important and needed in lots of very useful reactions. We learned that acids generally taste sour and bases taste bitter and are slippery. We put our new found knowledge to the test through an experiment. We had 7 liquids: white grape juice, lemon juice, grapefruit juice, milk, baking soda water, mineral water, and water with alka-seltzer tablets. The students first made predictions whether they thought each liquid would be “sour” or “not sour.” I made it clear that the liquid might not taste very good, but that didn’t mean it was sour. Some of them might taste more bitter. It’s very easy to find foods that are acidic, but more difficult to find foods that are basic. The only two safe ones used in our experiment were baking soda water and the antacid. Most household cleaning products are basic, but they obviously aren’t safe to taste! 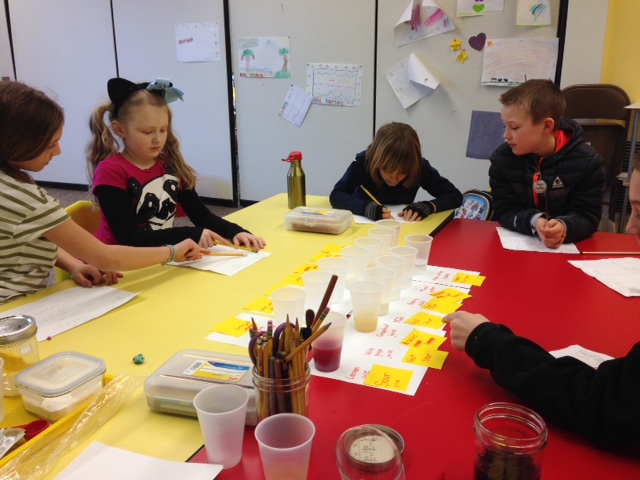 After they made their predictions, we tested them. The students tasted the liquids and determined if their predictions were correct or not. If a student didn’t want to try one, they relied on their classmates' opinion on whether the liquid was sour or not. We decided that the only two liquids that were actually sour were the lemon juice and the grapefruit juice. Next we used an indicator (red cabbage water that I had boiled the day before) to see if there was a change in color. The milk turned a gray color, but we thought that was because we added a deep purple color to a creamy white color, so we decided there wasn’t color change, per se. The mineral water also didn’t change much. The white grape juice, lemon juice, and grapefruit juice changed to pink. The antacid and the baking soda water changed to an oily black color with maybe a green tinge next to the edge of the glass. The liquids that turned the cabbage juice pink are called acids and the liquids that turned the juice blackish green are called bases. Some liquids like milk don’t change color much because they are neutral, which means they aren’t acids or bases. Medieval Knights
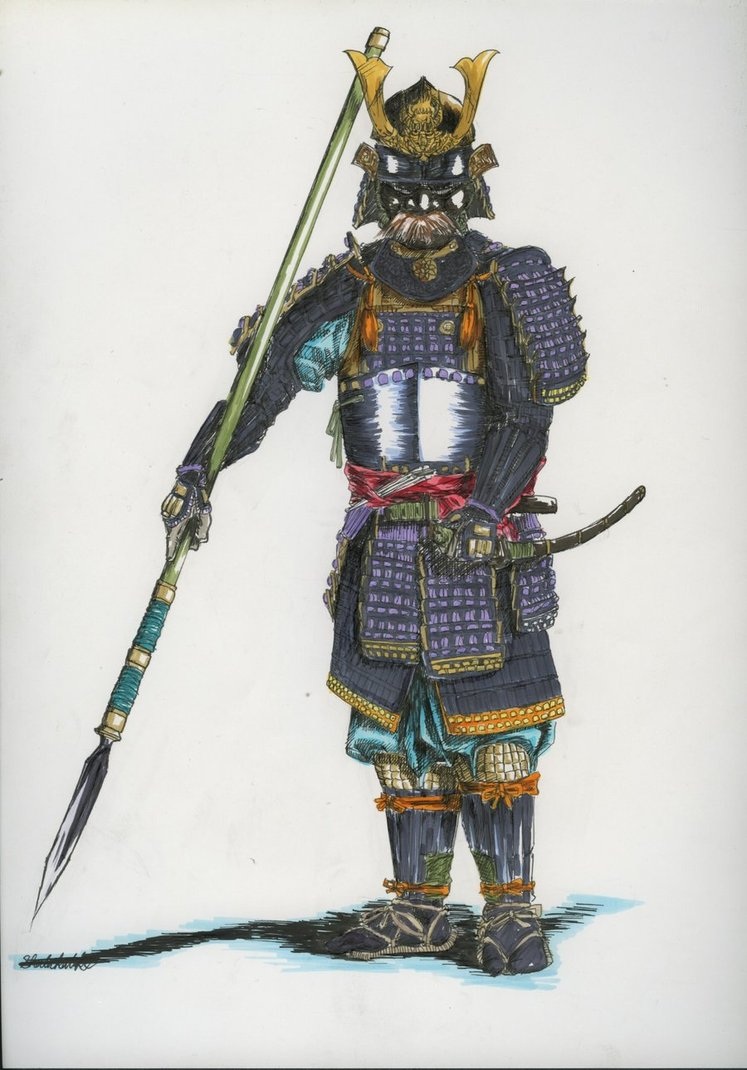
Samurai Warriors
For Next Week... For our project the students and I went over the symbolism used in the coat of arms knights used on their shields. People couldn’t tell which knight was which in battle because they were covered in armor from head to foot. Their coat of arms was what gave them away. The students used colors, animals, and symbols to make a coat of arms representing themselves. They took these home to finish if they needed to. Please have them bring them back next week to share, along with their mapping and notebooking pages.
Set Design: The Next Steps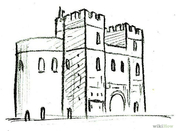 We spent about half the class this week sharing student ideas on set design concepts and discussing how to bring all ideas together into an overall concept. I think we have a great "big picture" plan for the village layout, and now need to start hammering out the details for the individual components. I would like each team or individual responsible for an assigned element to prepare the following:
Remember, we are looking to use everyday, inexpensive materials (large cardboard boxes are fantastic!) to create light, easy to carry and assemble pieces. Students had some fantastic ideas this week - keep the creativity flowing! Oh What Fun - the Monologues!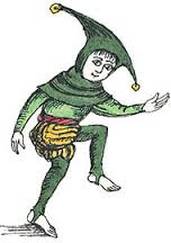 When I polled the class this week I was not at all surprised to learn that the monologue readings are everyones favorite class activity. We certainly never lack for volunteer readers! This week we discussed the three monologues assigned for homework, which ranged in mood from poignant and melancholy to silly and humorous. What a great collection of medieval characters and themes we have available for student performances! I have asked students to provide me with their top two or three monologue (or dialogue) preferences. I will hope to assign everyone to at least one of their top picks in the next few weeks. Homework...
Next week we will begin class with work on monologue performance techniques. See you then! with Angela Harris Warming up with Willa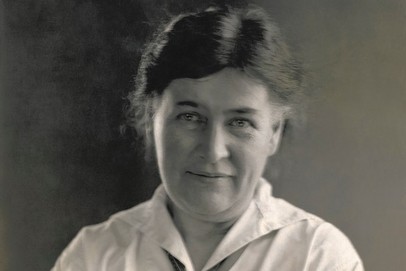 Willa Cather Willa Cather After our three-minute free-write in our journals (we start every class this way; it gets us warmed up and underscores a topic or theme found in the novel we are reading/discussing at the moment), we heard about the life and experiences of our current author, Willa Cather, and the model for possibly her most famous heroine, Ántonia Shimerda. Willa Cather did not want her novels to be read as veiled autobiography, but My Ántonia parallels many of her life’s experiences. Many literary scholars argue that Jim Burden is Willa Cather. For example, Jim and Cather both left Virginia as young children and lived on the Nebraska prairie. Cather’s family then moved to Red Cloud a year later; Jim’s family moves to the fictional town, Black Hawk. Cather gave her high school graduation speech, as does Jim; then they both studied at the University of Nebraska in Lincoln. After graduation, they leave Nebraska for the east: Jim to study law at Harvard; Cather to work as editor at Home Monthly in Pittsburgh. I love this quote from Cather: Art must spring out of the very stuff that life is made of. The German housewife who sets before her family on Thanksgiving day a perfectly roasted goose, is an artist. The farmer who goes out in the morning to harness his team, and pauses to admire the sunrise—he is an artist. What do you think this means? How can a housewife be an artist if she hasn't painted anything? How is a farmer an artist if he's simply admiring the sunset? Please think about this and we'll talk about its meaning next week. Cather was an author who was captivated by the simplicity of prairie life and expressed her thoughts in words that truly approach poetry. Cather quotes are absolutely life affirming. H.L. Mencken said, “No romantic novel ever written in America, by man or woman, is one half so beautiful as MY ANTONIA.” As you read, notice places in the novel that are written in such a way as to conjure up a particular image. Re-read these parts to understand them better. Roll the images about in your mind. Taking the time to enjoy the novel in this way is not only far more engaging but (hint) will help you with another essay coming up in a few weeks! Paraphrasing ExerciseIn preparation for our expository essay writing assignment this week, we took some time to understand what makes a good paraphrase. Each student had selected a piece of research that they had identified last week as being valuable in providing points and particulars for their five-paragraph essay on the topic of immigration. We read our articles with a view to choosing a point that we could put into our own words. We wanted to look for a point, not just a comment. A comment not worth paraphrasing will not have a specific fact or unique idea to contribute. Look for facts, data, statistics, or conclusions built on those things. Expert opinion also qualifies. (Be sure to include their qualifications: see Citing Sources below). Paraphrasing means taking ideas and putting them into your own words and sentence structure. The length and style of the sentence should be maintained, but the language and structure should be different. We then chose the quote or piece of information that we wanted to practice paraphrasing and wrote it out exactly as it appeared. Then, on a separate sheet, we wrote out our own version WITHOUT looking at the original. We shared the original and then our paraphrase. These usually need more than one attempt. After the first attempt, you can go ahead and look at the original quote and try a second draft. I actually think all the students did pretty well on their first draft--we didn't have time for a second attempt, but I think they get the general idea! I wanted to practice summarizing as well, but that will have to wait for another day and time. Important: Citing SourcesAt the end of class we went over a guide to expository essay writing that I put together for the students. Please read the sample essay one time all the way through just to get the meaning. The second time compare the essay to the guide to see how this particular student followed the steps to complete the essay. Do not attempt to write an expository essay without reading one first. Would you attempt to write out instructions on how to ride a bike without knowing how to ride one yourself? Writing an expository essay without ever having read one is just as silly!
Once we become more comfortable with essay writing (e.g., next year) we can relax the formulaic approach. For now, follow the steps and you'll have success! You will need this information to cite sources correctly for this essay: Researchers place brief parenthetical descriptions to acknowledge which parts of their paper reference particular sources. Generally, you want to provide the last name of the author and page number if it’s from a book. If it's from the Internet, you will just put the author's name in parenthesis after the quote or bit that you are paraphrasing or summarizing. PLEASE UNDERSTAND, EVEN IF YOU ARE NOT USING A DIRECT QUOTE YOU MUST GIVE CREDIT. If such information is already given in the body of your sentence, then you don't need a parenthetical citation. Ideally, when citing on-line sources, try to reference the source within your sentence, with either the author or the title to avoid writing a parenthetical citation. Otherwise, place the parenthetical citation where there is a pause in the sentence – normally before the end of a sentence or a comma. If there is no author, use the title that begins the citation, either the article or website title. Be sure it also takes the same formatting as non on-line sources, i.e. articles are in quotes and website titles are italicized. Next session we will learn how to include a "Works Cited" at the end of your paper (the bibliography). Example of information taken from the Internet and you know the author's name: The economy will rebound with the new monetary policies (Smith). Example when you do not know the author's name, but you know the title of the article OR name of web-site: Elephants are thought to be one of the smartest mammals (“Smart Elephants”). This came from an article--use quotes so I know it was an article. Most importantly, if this is not clear, please ask. Citing sources is required for this paper--either within the sentence itself (preferred for on-line sources) or in-line parenthetically as described above. Good luck and see you next week! Monologues
Students identified the theme and mood of each piece, looked at the use of figurative language, and discussed the motivation and circumstance of each narrator/character. We are slowly uncovering the interesting variety of personalities that comprise the young medieval voices of our village. As you read through the monologues each week, you should be thinking about which characters and scenes you would like to perform. I have asked that everyone provide me with their first, second, and third choice no later than March 30th. Set Design
Students broke into small groups to brainstorm ideas for designing and building these components. We will continue work on set design concepts next week, so come prepared to present and discuss your ideas! HomeworkTo prepare for next week:
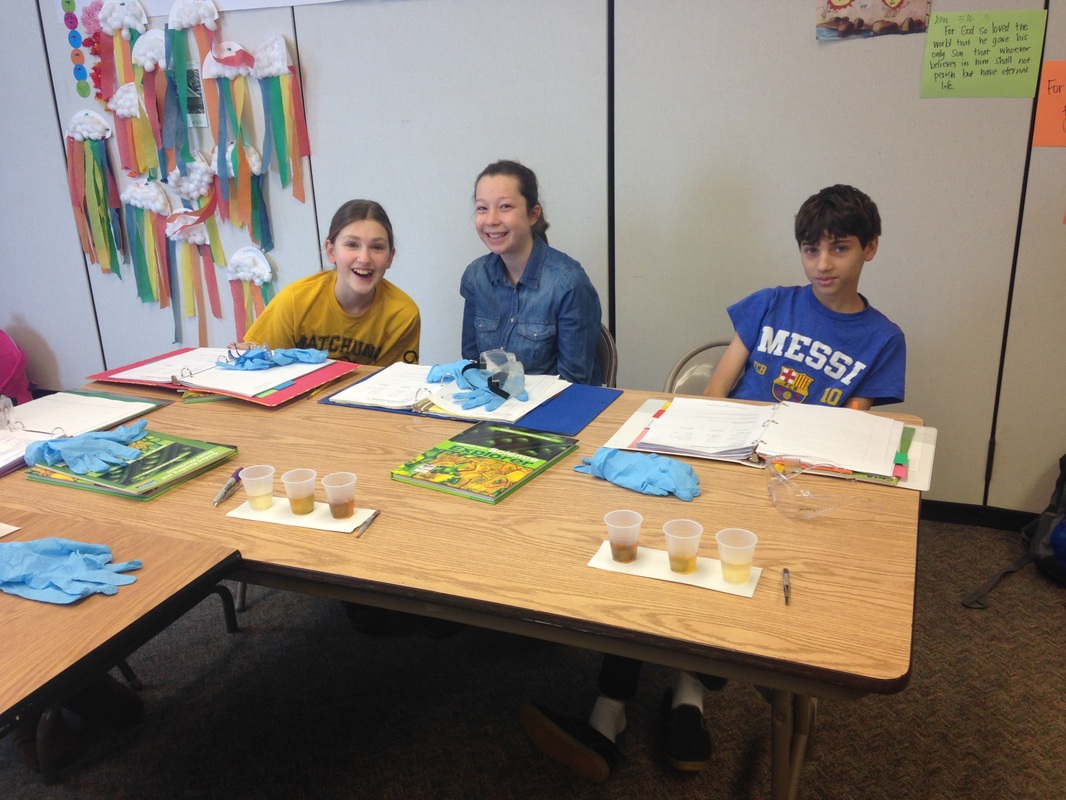
with Kim Rodgers When Molecules Meet! This week in Chemistry we learned what happens when molecules meet. Sometimes there is a reaction where something changes in the way the atoms are hooked together. The molecules might switch atoms and go from one type of molecule to another. Sometimes when molecules meet they join together to form a new molecule. And sometimes molecules might break apart to form entirely new molecules. In all of these situations atoms are neither created or destroyed. They will never appear or disappear. We learned some examples of chemical reactions we might see regularly in our lives, in our world, or even in our own bodies! But just like atoms, reactions follow rules. Our experiment focused on 4 cups of mystery fluids. We wrote down observations about each fluid before beginning to use our senses. We even used taste because we knew the liquids were safe, but we discussed how scientists would never taste something if they didn't know what it was. At first the students wrote down one, maybe two words. But before we shared I had them go through their senses, writing at least one word for each sense that could perceive something. We decided hearing wasn’t a very helpful sense in our circumstances. We shared our observations about each one and came to the conclusion that we were dealing with cups of lemon juice, vinegar, milk, and water mixed with baking soda. We moved on to mixing. We took each possible combination of two cups. Before mixing them, the students wrote down their hypothesis of what they thought would happen. Some combinations showed no reaction, like lemon juice and vinegar or milk and baking soda. Some reactions showed a little change like lemon juice and milk or vinegar and milk. Both lemon juice and vinegar caused the milk to curdle. And some reactions were VERY obvious, with bubbles overflowing the cups and making us jump! These combos were lemon juice and baking soda, as well as vinegar and baking soda. Vinegar and lemon juice have similar molecules, which is why there isn’t a reaction when they combine. Knowing that, the students could guess which liquids had similar molecules and which had very different molecules. The students have all of their observations in their notebook, which they can use to write up their Chemistry notebooking page this week to share in class next week. The Language of Castles
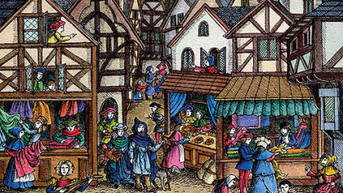
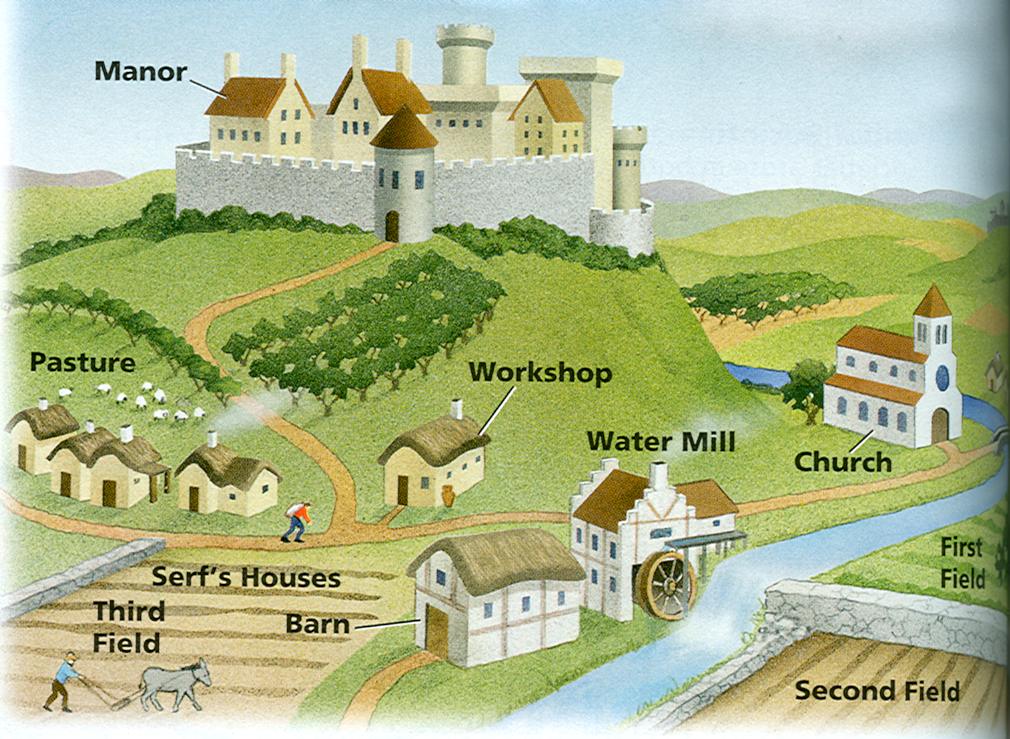
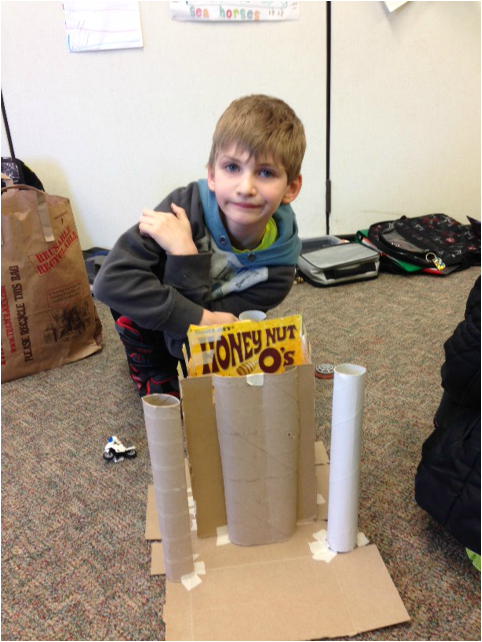
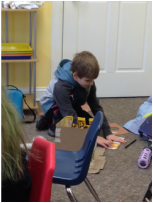
In Middle Ages we learned about the English language. That might sound silly, but it was very interesting to learn how many languages we borrowed words from to form what we use today. We saw examples of Old English, which we could barely pronounce let alone try to understand! Some words we have now from Old English are man, house, sheep, dog, wood, field, work, drink, laughter, the, this, here, and that. When the Anglo-Saxons came they drove away the Celts into Ireland, Scotland, and Wales and their language went with them. English didn’t borrow many words from them because Angles and Saxons spent very little time talking to the Celts! English borrowed many words from Latin and Greek when Augustine brought Christianity with him. Words like apostle, pope, angel, and baptize were adopted into the English language from Greek. Latin words English took were minister, nun, monk, gospel, and sanctified. Then the Viking invasion occurred when English adopted some of their short, plain, simple words like leg, skin, skull, angry, cut, crawl, die, and drown. Most of the days of the week are even named after Viking gods. And when William the Conqueror settled in England he brought with him many of his noblemen, which caused many French words to be added in like peace, curtsy, beef, chair, curtain, garden, castle, and rich. We also learned about feudalism, which came about when William decided that the king was more than a war leader. He thought the king should own all the land that he ruled. William gave his favored knights pieces of England for their own, while the knights promised to fight for William if ever he needed them. The knights came to be called lords and they gave smaller parts of their land to other knights who would fight for them, and to English farmers, called peasants or serfs. In exchange they would give part of whatever they raised or grew to their lord. Every person served someone, and that person gave something in exchange. The lifestyles of a serf and a lord were explained. Some students decided they would like the life of a serf because they worked outside with animals or land and didn’t have the threat of having to join in battle, while others liked the idea of living in a castle with good food and entertainment even though they might have to battle at a moment’s notice. From there we moved on to create our own castles. They could choose if they wanted to build one I had copied on cardstock, one they could create on their own from boxes and tubes, or work in a group on one that Finn had brought in that was about 3 feet tall (thanks Finn!). The class split in half. One half did the cardstock version, while the other half wanted to create their own. This project will need to carry over to next week as their creative juices are flowing! I’m considering having a class of finishing up projects next week as we have our embroidering to finish as well. Students have their mapping page and notebooking for next week. See you then!
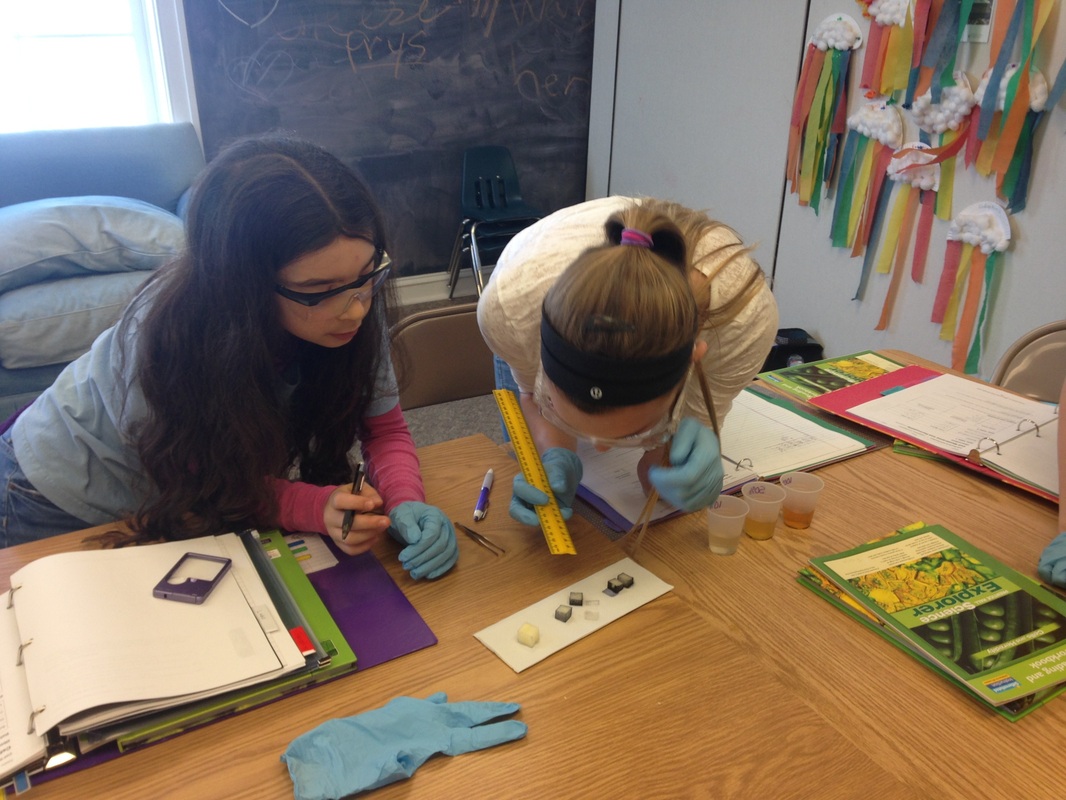
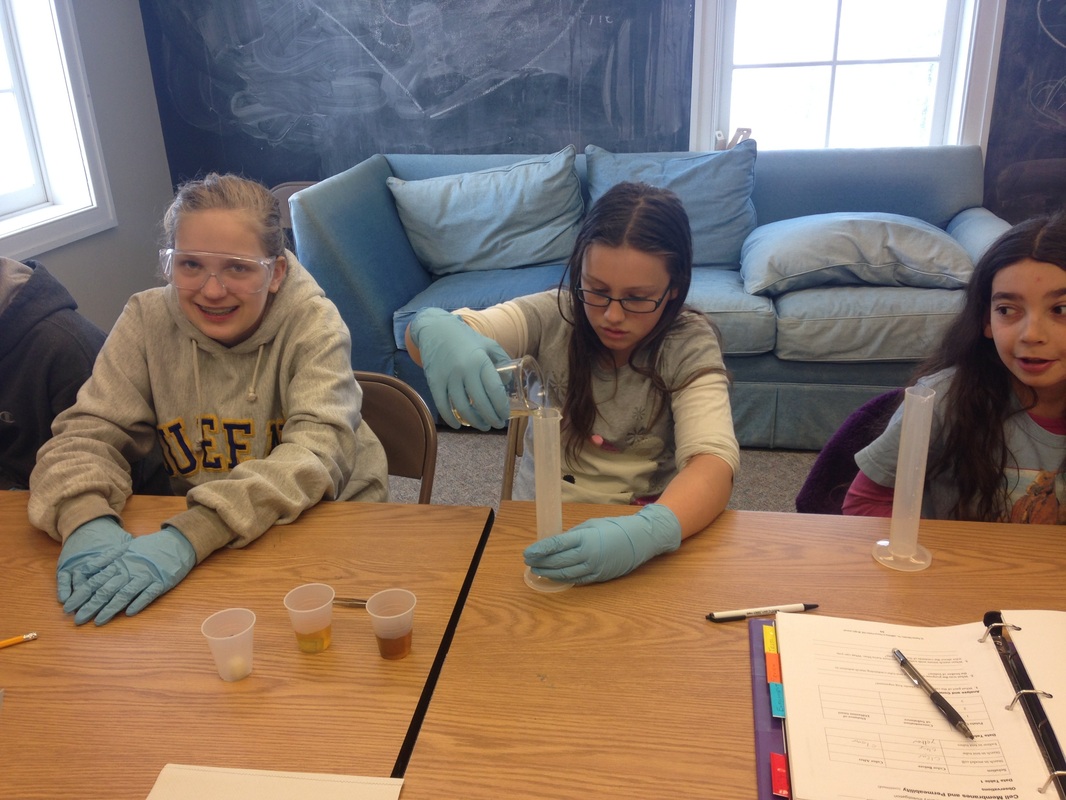
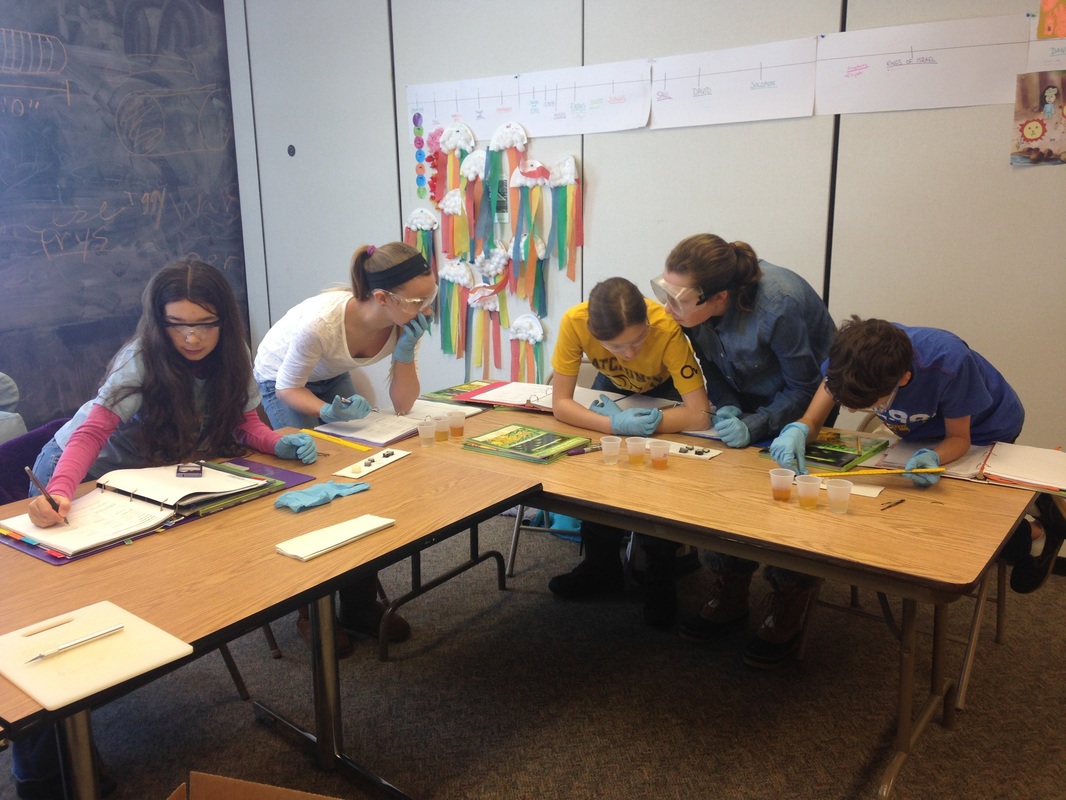
with Leigh Ann Yoder Diffusion DiscussionAt the beginning of class we immediately began our lab on Cell Membranes and Permeability. We began by observing a model cell I had set up 24 hours prior to our class. The cell membrane was represented by a sandwich bag, the interior of the cell was filled with a starch solution and the outer environment was iodine. Students first observed the chemical reaction that takes place when iodine mixes with starch. Then we examined our model cell together. We observed and discussed that the cell membrane was selectively permeable, allowing iodine to pass into the cell, but did not allow the starch to pass out. This was determined to be due to the membrane pore size. Students successfully identified that our model cell represented passive diffusion.
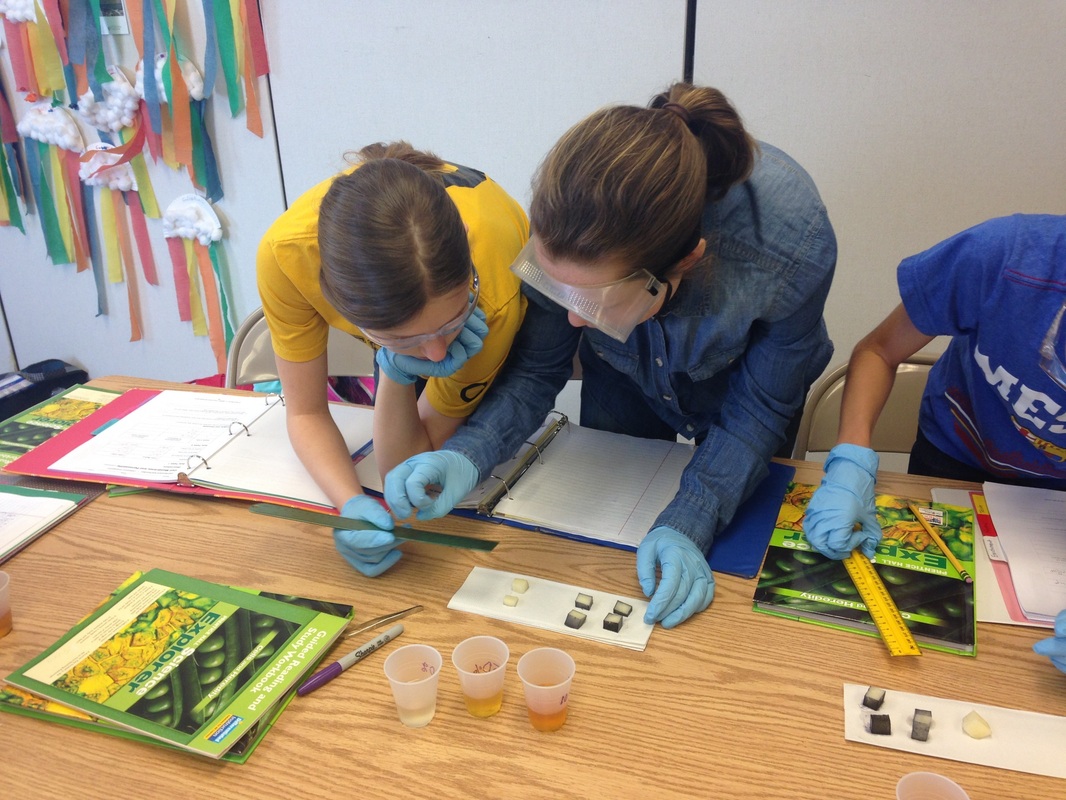
Students next set up Part II of our lab which tested the effects of concentration on diffusion. They soaked potato cubes in three different concentrations of iodine. After 30 minutes, students measured the distance of diffusion in the three potato cubes and were able to draw the conclusion that the greater the concentration of iodine, the greater the distance of diffusion. Students then applied their knowledge and were able to determine why sick people wear oxygen masks. Please ask your student to explain this. 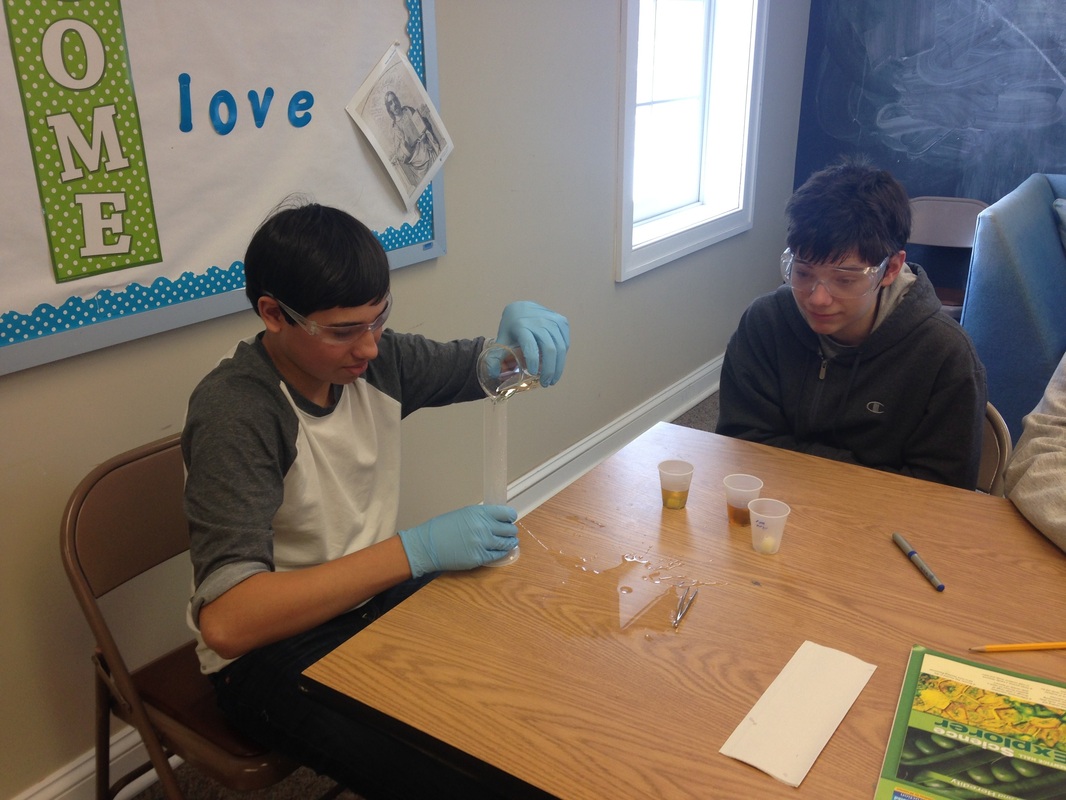
 While our potatoes were soaking we had time to discuss the results of our Egg-speriment as well as review key concepts covered in our weekly learning. We specifically focused on diffusion, osmosis, and active and passive transport. Notes: Please bring goggles and cleaned jars next week. Also, if you have not already paid your supply fee please bring next week. Thank you. HomeworkMandatory:
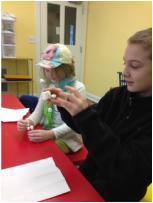
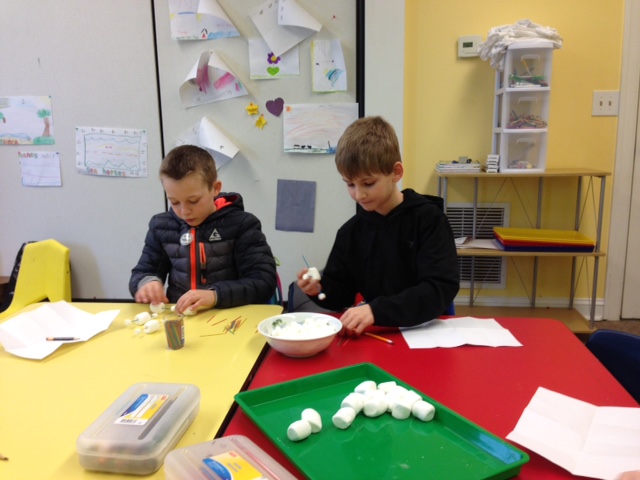
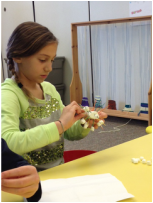
Read 2.1 and 2.2 (Photosynthesis and Respiration) Complete the study guide for both 2.1 and 2.2 Optional: Take Chapter 1 Test and bring for grading (highly recommended) Online Activities pg. 46 and 52 with Kim Rodgers Molecules and Marshmallows! 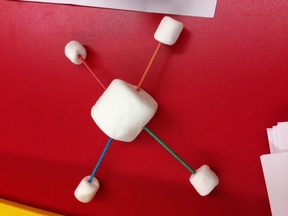 This week in Chemistry class we learned about atoms as building blocks for molecules. Atoms must follow rules in order to make a given molecule. For example, hydrogen atoms can only hook to one other atom, while oxygen can’t hook to more than two atoms. We looked at the Lego blocks that the students regularly play with before class and during lunch. We discussed how there are a finite number of other blocks that can attach to any one block. The number of bumps the piece has limits the number of other blocks that can attach. Atoms are the same way. Using toothpicks and two sizes of marshmallows, the students made as many creations as they could. After a while of creating they drew pictures of their favorite ones. We then placed a rule on our creations. Each large marshmallow can only have three toothpicks coming off of it. The students could still create many different structures. We then moved to two toothpicks per large marshmallow, finally moving to only one toothpick. Afterwards we discussed how each time we put a constriction on how the structures could be assembled, our possibilities for creating were constricted as well. This drove the point home that each atom having a certain amount of bonds allows certain molecules to be formed. There is order instead of chaos.
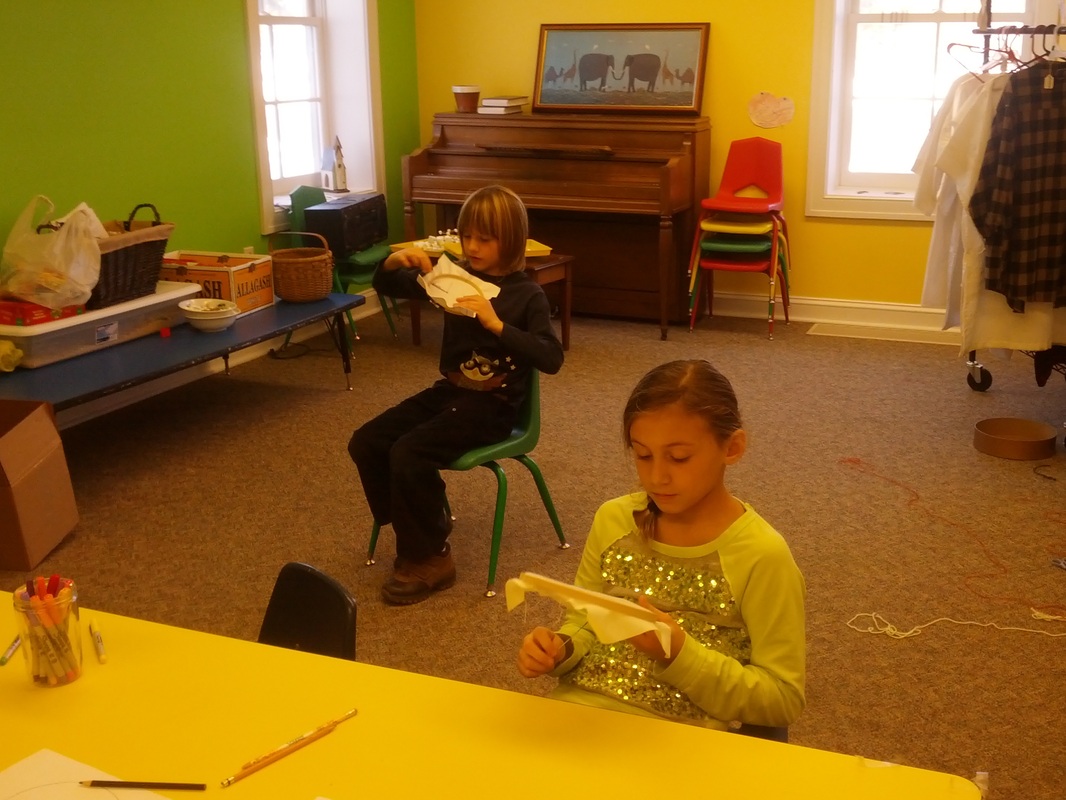
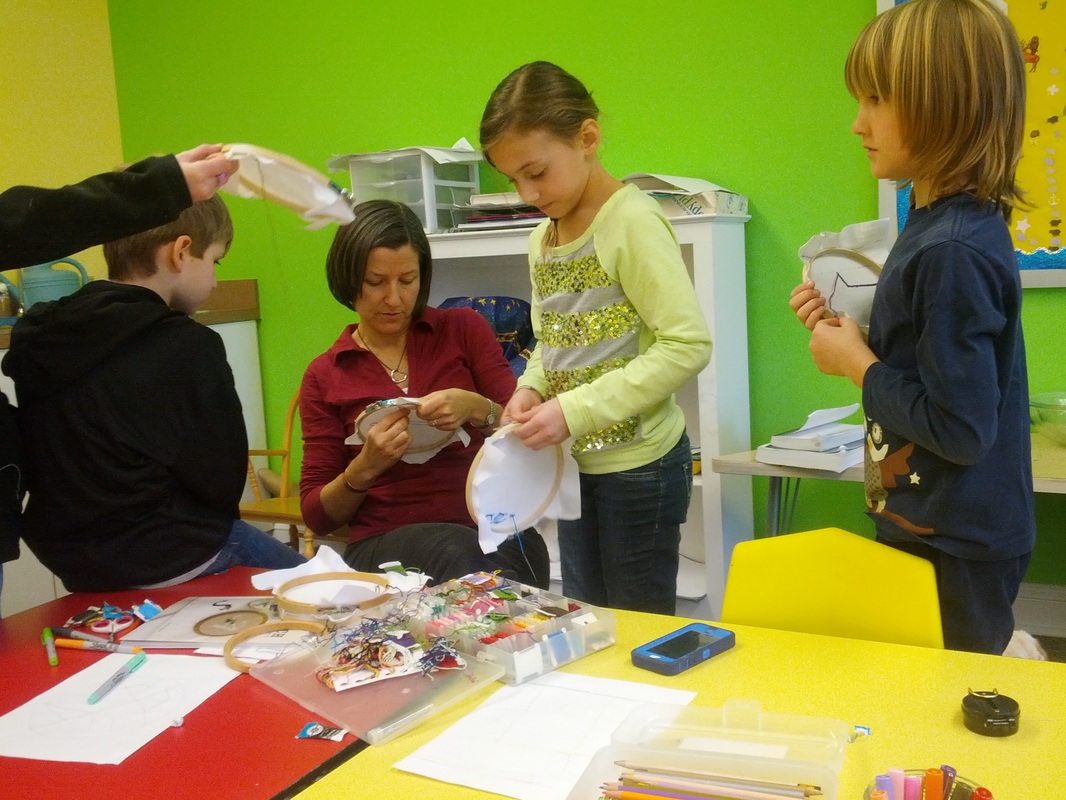
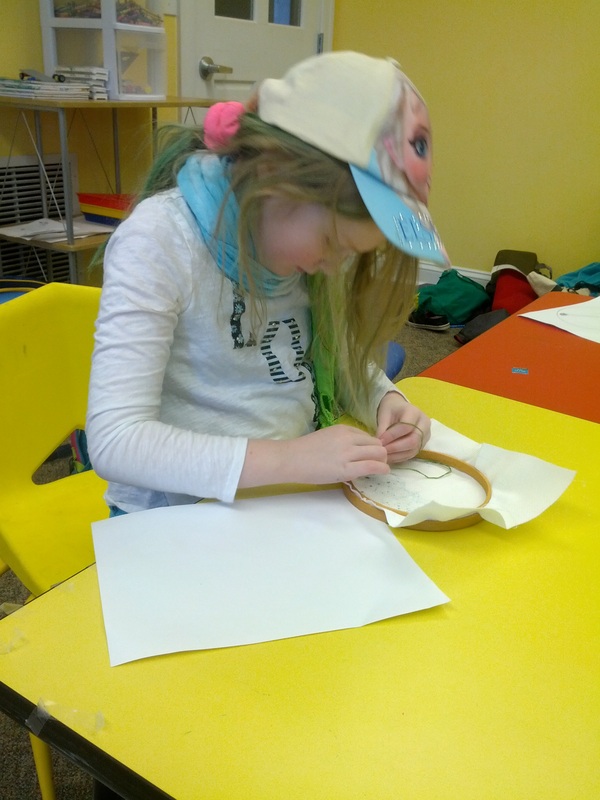
We followed up this activity by observing how molecules move in cold and hot water, as opposed to room temperature water, which we observed last week. The students helped put together our experiment making sure the variables were all equal to make the experiment true. Ahead of time I had put ice in one bowl of water and heated another bowl of water. We put one cup of cold water in one cup and one cup of warm water in another. We put yellow food coloring in two droppers and blue food coloring in two others. On the count of three one drop of yellow and one drop of blue were dropped into each cup. The students observed that the colors mixed much more quickly in the hot water than the cold. We concluded that the molecules in the hot water must move more quickly as well. We drew pictures of each cup showing the mixing of the colors, along with a drawing depicting the movement of the molecules in each temperature of water. Embroidery and the Battle of Hastings In the Middle Ages class we read about the Battle of Hastings when Harold and William were vying for the throne of England. Harold was a nobleman from Wessex, where Alfred the Great had come from, and William was from across the English Channel in Normandy where he had married an English princess. Edward the Conqueror, the actual king of England, was growing old and had no sons to inherit the crown. Before Edward died Harold was sailing along the coast of Wessex and got caught up in a storm which landed him and his ship on the coast of Normandy. William quickly invited him up to his castle and had a huge feast. Harold was wary. At the end of the feast William made Harold swear to give William the throne by laying his hands flat on the table in front of him. Seeing as Harold really had no choice, he swore the oath. William pulled away the tablecloth for Harold to find that he had sworn the oath on a box of old saint’s bones, sort of like our modern day version of swearing on the Bible!
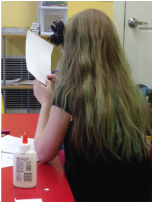
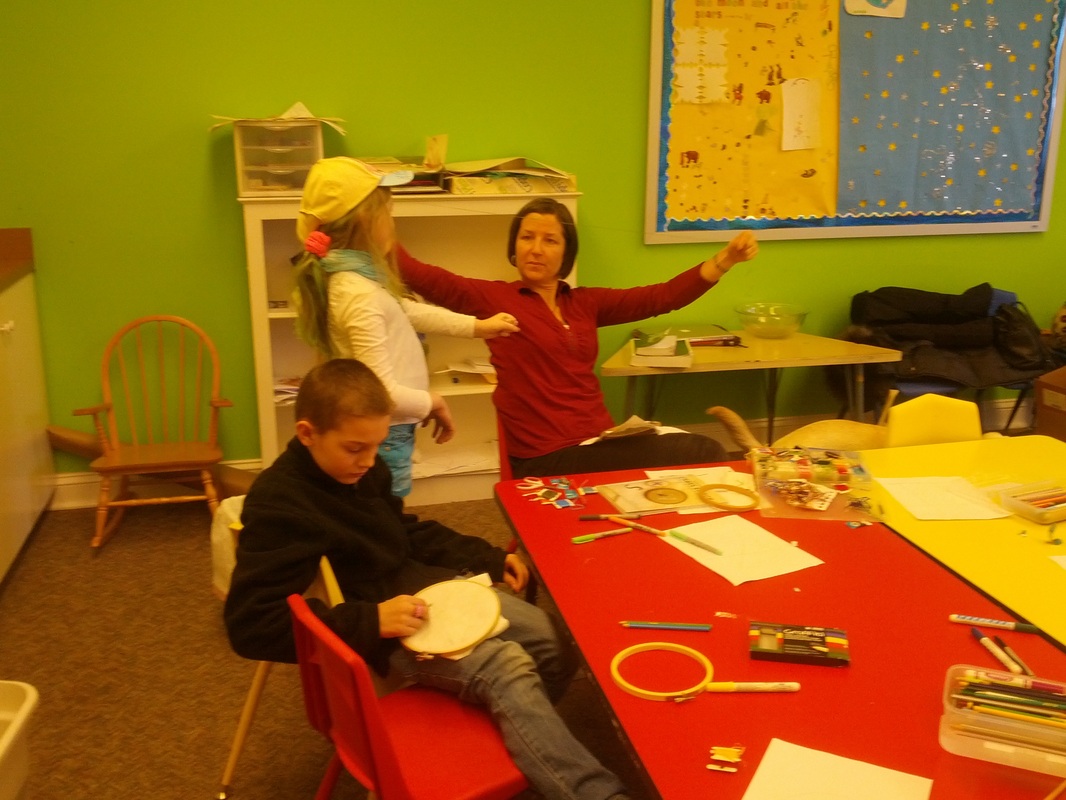
When Edward the Confessor died several years later Harold did not end up keeping that oath, which led to the Battle of Hastings. This battle is depicted in the Bayeaux Tapestry, which is an amazing embroidered account of the battle that extends 17 meters and was created a few years after the battle took place! The students and I watched a short video about it. We also watched a short video on the five most used embroidery stitches. They used a clean piece of paper to map out what they would like to embroider. Once they finished that they transferred the picture to the embroidery cloth using very thin Sharpies. Then the embroidering began. They were all very focused on what they were doing. I was the one who was slowing them down when they needed a new color of thread. They were patient with me. The plan is to continue working on these as we move through our class time together over the next several weeks.
HomeworkHomework for both classes remains the same: a notebooking page for each class, plus
finishing up the mapping page for History. Have a great week! with Angela Harris The Expository Essay This week's post will be short and sweet! We spent the bulk of our time reviewing thesis with tension, crafting practice theses statements, discussing the advantages and disadvantages of leaving one's home country for a new one, and how to find points and particulars for an expository essay! Thesis with Tension As discussed last week, a thesis with tension "...means the reader has a sensation of being stretched from a familiar, unsurprising idea to a new, surprising one..." (Allyn and Bacon Guide to Writing 44). A thesis with tension (for our purposes) should begin with the sentence starters "although" or "whereas" with the first part of the sentence stating the claim you're going to refute, and the second part of the sentence (or clause) asserting the view that your paper is going to prove or support. To practice thesis with tension, everyone wrote a thesis statement that was the answer to one of the four questions they posed at the end of our last class. The questions were excellent! We shared our theses and I think everyone gets the general idea. I was able to give some feedback so that hopefully our non-practice theses statements will be on target. The Homestead Movement and Bohemian and Swedish Immigrants  Students were given two handouts to read over before class. We discussed these briefly in context with our first expository essay assignment which is on the topic of leaving one's home country for a new one. Students can take this topic in many different directions and we spent a few minutes brainstorming verbally and then writing down some of those thoughts that stemmed from our discussion. Following the outline I provided, students should create their thesis with tension for the immigration essay and email it to me for approval. If they need to do some further research before crafting the thesis, that is more than fine, but I would recommend having it done and emailing it to me within the next two days. After receiving approval, students should continue with their research and fill out the "Points and Particulars" portion of their handouts. As I told the students, if they want to take an alternative view on this topic, that is fine! The evidence they find may lead them to make a surprising, unexpected statement. We’ll talk more about paraphrasing and summarizing our particulars next week, so don’t worry about that now. For the worksheet, these particulars can be just one or two sentences, but make a note about where you found the information so you can go back to it later. You can make these reference notes on index cards or computer. Print (or bookmark) at least one article or piece of information you used to fill in the outline and BRING IT TO CLASS NEXT WEEK. We’ll be practicing paraphrasing and summarizing using the research you found, so YOU'VE GOT TO COME PREPARED!
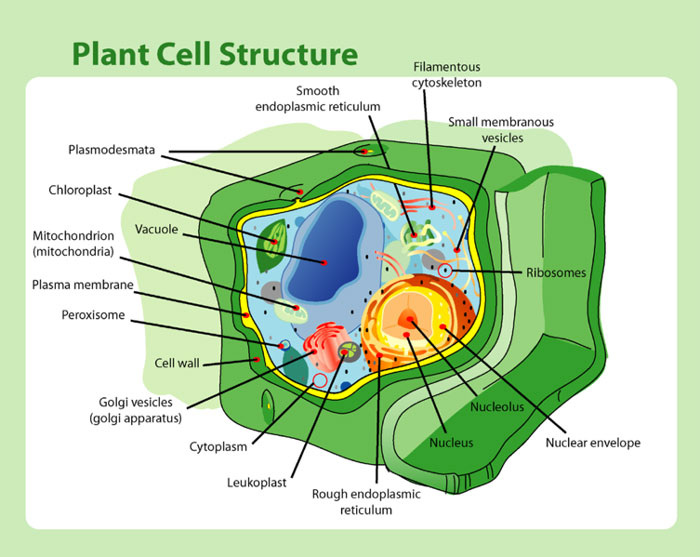
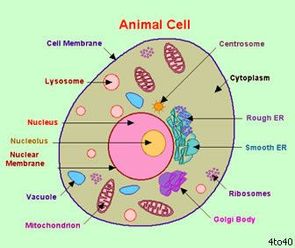
Any questions, email me! See you next week. with Leigh Ann Yoder Plant and Animal CellsClass began with the students sketching both plant and animal cells. They were able to observe and compare cross sections and longitudinal sections of plants. We discussed the two types and how they can tell the difference when looking through the microscope. Students observed and sketched two types of animal cells and had a brief lesson on squamous epithelial tissue. This is the tissue found both on the outer layer of bodies (skin) and internally (mouth, esophagus, intestines, etc). Students should now be able to tell the difference between the two types of tissue (wet and dry) and understand the general components. I emphasized familiarity with the material, not mastery. There will be time for that in high school biology. It seems all the students have thoroughly enjoyed their first project. We discussed our results so far and shared an egg that had been soaked in corn syrup. A brief lesson in osmosis helped explain to the students why their eggs increased/decreased circumference with various soakings. Our mini-lesson allowed for some interesting discussions and extra learning opportunities. Students should be able to explain why we will dehydrate ourselves if we drink salt water. Please ask them! This project is to be completed this week.
Chemical Compounds in CellsWe reviewed the key concepts learned in this week's readings. Focusing first on elements, molecules, and compounds. Next we discussed inorganic and organic compounds, and finally, carbohydrates, lipids, proteins, enzymes, amino acids, DNA and RNA. All students were well prepared and able to contribute to our discussions. Which Foods Are Fat Free?We began our first lab today. I explained the general components of a lab and the procedures. As a class we read the entire lab before beginning. This is like reading a recipe before you begin cooking. Students used fat testing strips to test the fat content of a variety of sour creams and cream cheeses. The products were labeled either fat free, low fat, or neither. All students were able to successfully collect and record their data during class. Some will need to complete their analysis and conclusion at home if they did not complete in class.
Handheld Microscopes Click HERE to Purchase Click HERE to Purchase Several students were interested in the handheld field microscopes we used for our first class. You can purchase them from carolina.com (item #182138) for $19.95. Please note we will meet at regular time next week - 10AM Please bring $25 supply fee if you have not done so already. HomeworkREQUIRED:
Read 1.4 The Cell in Its Environment and complete the Study Guide Eggsperiment: Complete and bring cleaned jar to class next week Lab: If you did not finish the lab in class, complete the analysis and one paragraph conclusion. BRING SAFETY GOOGLES TO CLASS NEXT WEEK OR YOU CAN NOT PARTICIPATE IN THE LAB - NO EXCEPTIONS! OPTIONAL: Online Activity pg. 34 of text Chapter 1 Review: Key Terms and Connection Concepts (in your notebook) Study Chapter 1 **Note - If you plan for your student to take the Chapter 1 test next week it is highly recommended they complete the review and study the chapter. |
Categories
All
Archives
May 2016
|


 RSS Feed